Appointment setup
Calendar connection, working hours, services and staff.
Booking has three parts: a calendar connection (where appointments are written), appointment settings (hours and rules) and service–staff definitions (who does what). Once all three are in place, the assistant starts taking bookings.
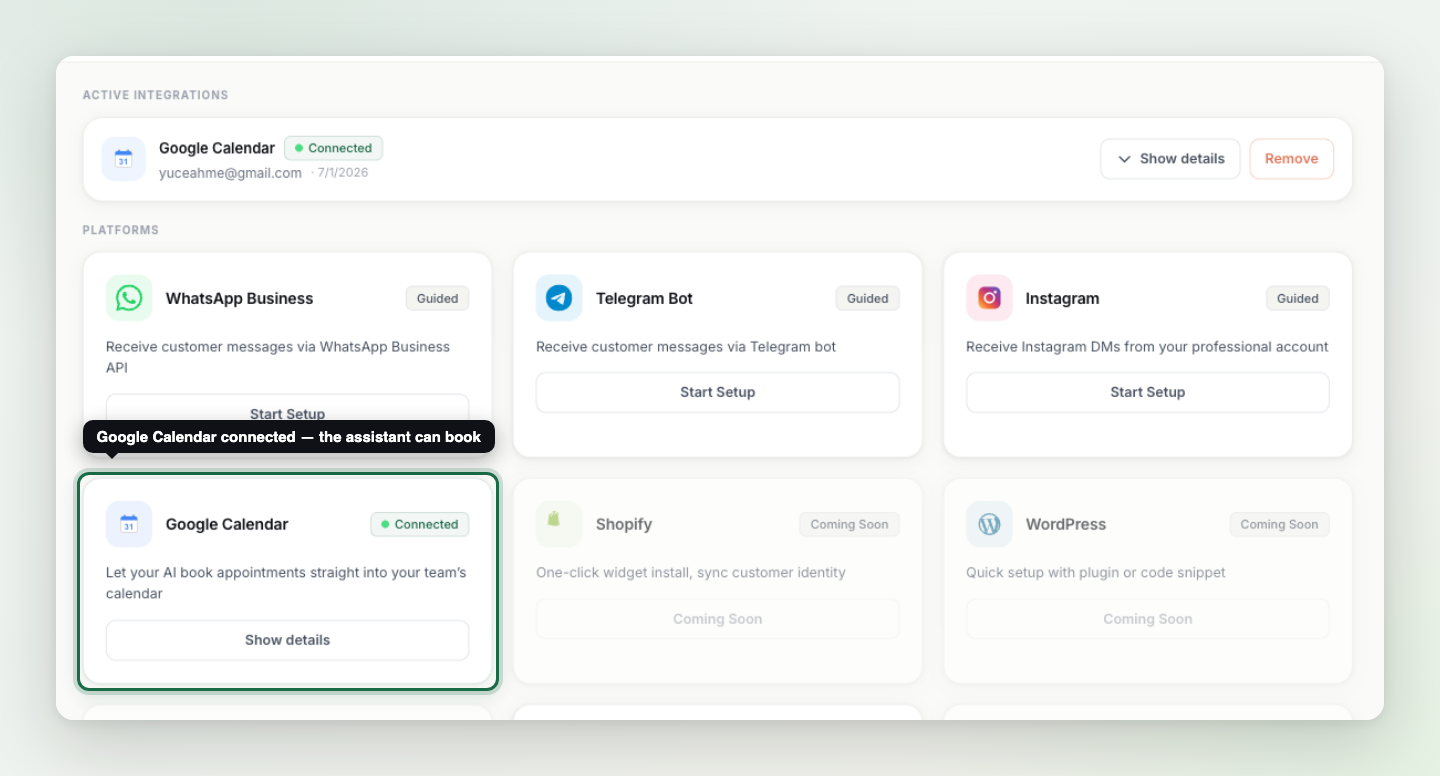
- Connect Google Calendar
Set up the Google Calendar connection on the Integrations page. The assistant reads availability from this calendar and writes bookings into it.
- Configure appointment settings
Set your working hours, booking rules and time zone on the appointment settings page. A wrong time zone makes every suggested slot wrong — it's the first thing to check. Every field is explained on the next page of this guide.
- Define services and staff
Add the services you offer and which staff member provides each one. The assistant answers "who's available for X?" from this mapping; gaps in it can route bookings to the wrong person.
One calendar, or one per staff member?#
There are two modes: single calendar (all bookings go into the business's shared calendar — the right start for most businesses) and per-staff calendars (each employee connects their own Google calendar; a booking lands in the chosen staff member's calendar). You can switch modes in the project settings.
Tip: After setup, run one end-to-end test from the widget: ask for a service, pick a day, confirm a suggested time — and see the appointment appear in your calendar with your own eyes.