Assistant settings, step by step
The agent editor's five steps — every option in plain words.
Open AI Agent in the left menu and click Edit on your agent. The editor is organized as five steps across the top; here's what lives in each one. Changes apply to live conversations the moment you save.
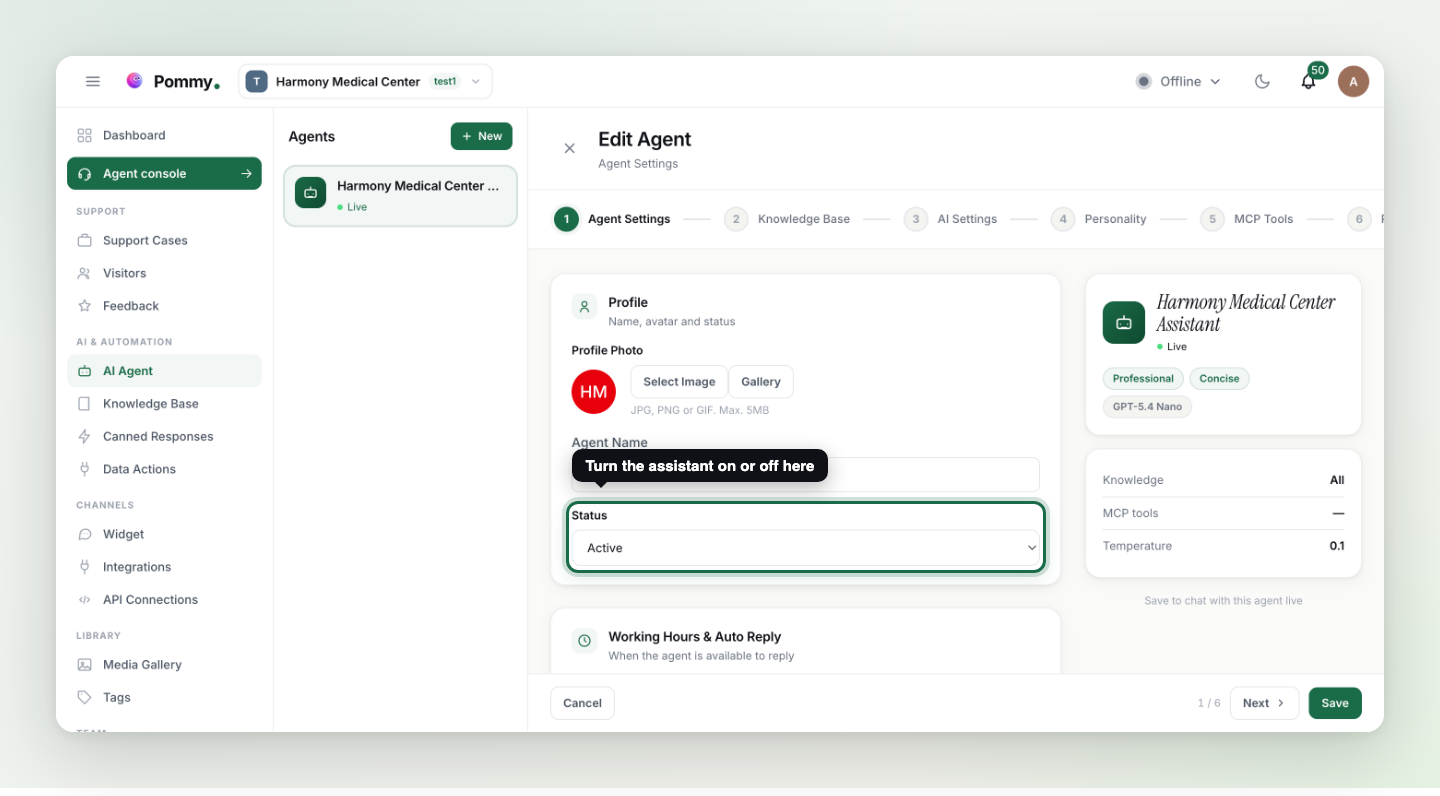
1 · Agent Settings#
| Setting | What it does |
|---|---|
| Profile photo & name | The face and name customers see in the chat header. |
| Status | Active / inactive — the master switch. While inactive, the widget still works and conversations go straight to your team. Only one assistant can be active at a time: switching one on switches the others off, because a conversation is answered by exactly one. |
| Working Hours | Optional: the assistant only replies during the hours you set (per-day ranges, weekdays/weekend presets). |
| Auto Reply Message (Offline) | What customers see outside those hours — e.g. "We'll get back to you as soon as possible." |
2 · Knowledge Base#
Controls what the assistant can read: your documents, FAQs, articles and showcase. Leave it on "all" unless you have a special reason to narrow it.
Rule: You no longer pick the model. The models behind your assistant — the main one, the helper models and the fallbacks — come with your plan and are set by us, so nobody has to guess a quality/cost trade-off. The old AI Settings step (model, temperature, max tokens) is gone; if you need a different tier, that is a plan question, not a per-assistant setting.
3 · Personality#
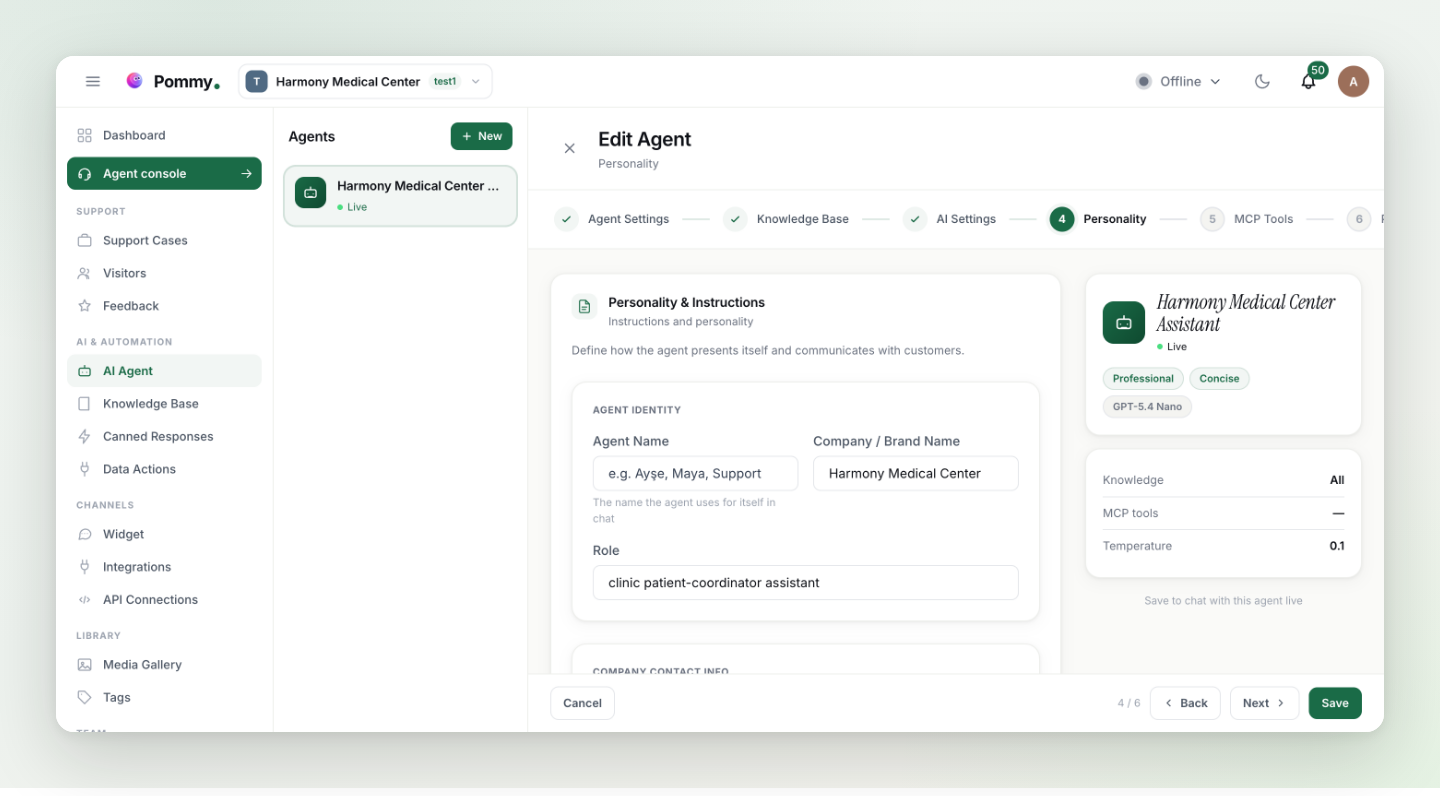
| Setting | Options |
|---|---|
| Communication Tone | Professional (formal, efficient) · Warm (friendly, empathetic) · Technical (precise, thorough). |
| Response Length | Concise (short, to the point) · Balanced (standard) · Detailed (thorough with context). |
| Response Language | Auto-detect from customer, or force one specific language for every reply. |
4 · MCP Tools#
Tick the MCP servers this assistant may use — the ones you added on the API Connections page. Ticking a server hands the assistant every tool on it; a server nobody ticks is used by nobody. What MCP is and how to connect one is the next page, External tools (MCP).
5 · Project Assignment#
| Setting | What it does |
|---|---|
| Project / widget assignment | Which site and widget this agent serves. |
| Can transfer to human | When on, the assistant hands conversations to an available teammate when needed; when off, it never mentions handover. |
Rule: The assistant only promises capabilities that are actually enabled — no calendar means it never says "I can book you in"; handover off means it never offers a human. That's deliberate.
Tip: After changing a setting, send the widget a couple of test messages and watch the behavior; if something looks off, check these tables first, then the FAQ section.