WhatsApp setup
Connect WhatsApp Business via Meta's Cloud API, step by step.
The WhatsApp connection uses Meta's WhatsApp Cloud API. You'll work in two Meta sites — business.facebook.com (your business portfolio) and developers.facebook.com (your app) — and paste three values into Pommy.
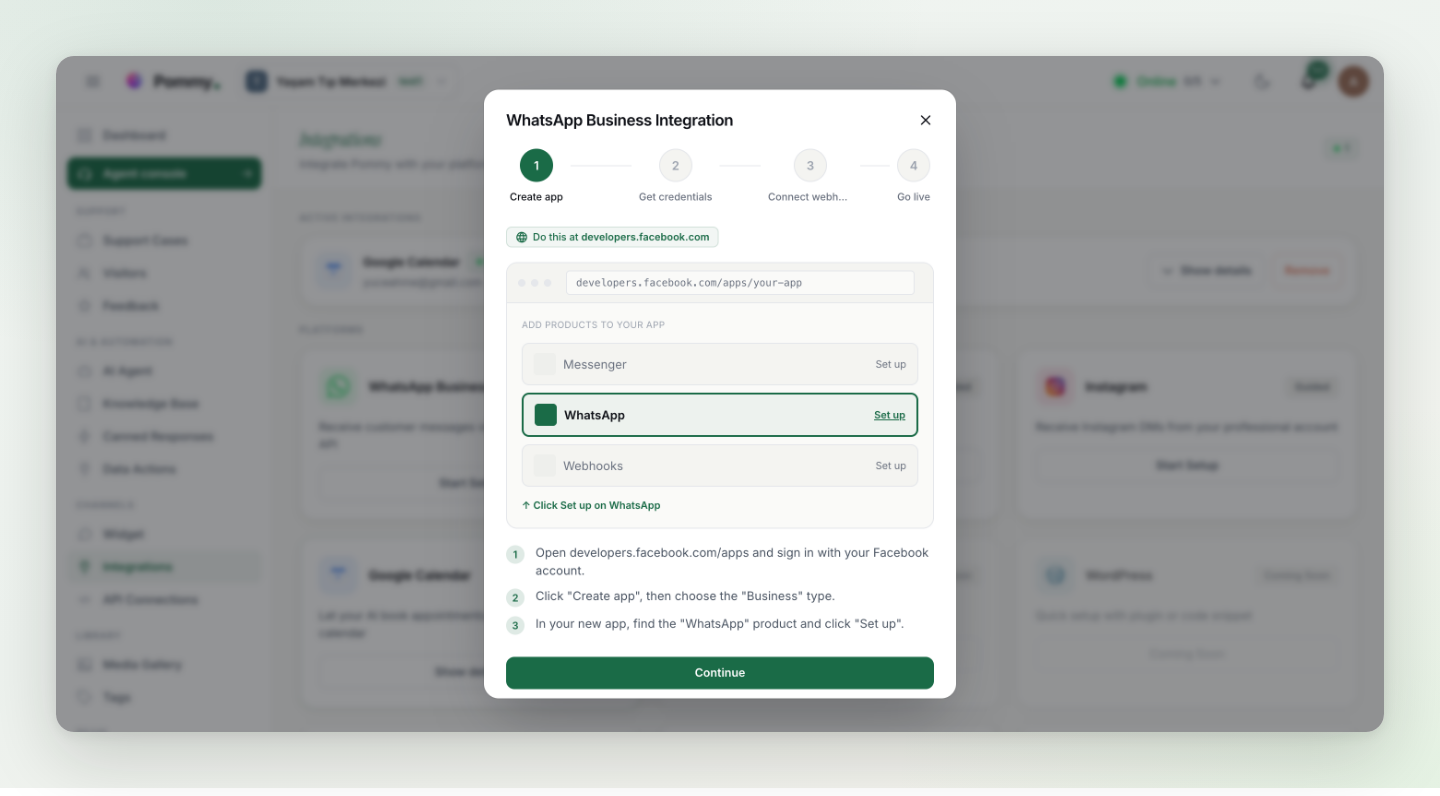
Before you start#
- A Meta Business portfolio — create or open one at business.facebook.com.
- An app on Meta for Developers (developers.facebook.com/apps) with the WhatsApp product added.
- A phone number connected under WhatsApp → API Setup — Meta's free test number works to start.
- For production, a permanent access token from a System User — the temporary token expires after 24 hours.
The three values Pommy asks for#
| Field | Where to find it |
|---|---|
| Phone Number ID | In your Meta app under WhatsApp → API Setup — copy the Phone Number ID (not the phone number itself). |
| Access Token | Testing: the temporary token on the same API Setup screen. Production: a permanent System User token. |
| Business Account ID (optional) | Shown as "WhatsApp Business Account ID" on the API Setup screen — optional but recommended. |
Last step: the webhook#
The webhook is how WhatsApp delivers incoming messages to Pommy. The setup dialog gives you a Webhook URL and a Verify Token; then, at developers.facebook.com:
- Open the webhook settings
Select your app, go to WhatsApp → Configuration, and click Edit in the Webhook section.
- Paste the URL and token
Paste Pommy's Webhook URL as the Callback URL and the Verify Token, then save.
- Subscribe to messages
Still in the Webhook section, click Manage under Webhook fields and subscribe to the messages field.
Done — the dialog offers an optional test message; after that, WhatsApp messages appear in your Agent console like any other conversation.
Warning: If messages stop after a day of testing, your temporary token expired — generate a permanent System User token and update it under the integration's settings (existing values stay unless you overwrite them).